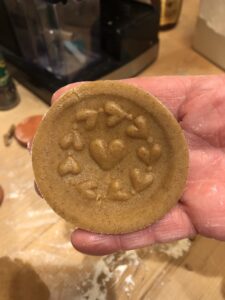
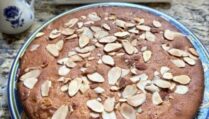
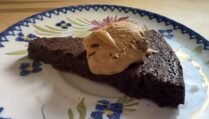
An Old-Fashioned Treat: Stamped Spice Cookies
Ever since I was a little girl, I have been trying to transform my life into the setting of a 19th century novel. It is not surprising then, that I enjoy baking “old-fashioned” treats and desserts suitable for a tea party. These days these stamped spice cookies are bringing me one step closer to my complete transformation to a Brontë heroine.
It’s OK to Do Things the Easy Way
I follow a lot of very beautiful baking IGs. The amount of work required to actually make these types of creations is just way too much for me. I especially like those sites where women hand churn their own butter and bake with old-timey kitchen gadgets. There is just no way I am doing that. I don’t have the time and I definitely don’t have that kind of patience or precision. So we’re just going to have to take the easy way over here in the Good Enough Kitchen.
Chilling is Key
First things first: these cookies are delicious whether or not you own a cookie stamp. Using a regular cookie cutter is good enough. The key here, though, is to make sure you chill the dough. Chilling the dough keeps the shape of your cookies as they bake and keeps the impression made by the stamp. You will actually need to chill the dough twice if you are using the stamp. The first chilling is a few hours for the unrolled, uncut dough. The second time, stamp your cookies and then let them hang out in the freezer for about ten minutes. Without all this chiling, you will end up with an unrecognizable blob.
Spice in Your Stamped Spice Cookies
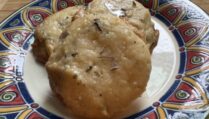
The cookies themselves are very crispy and very flavorful. The spices are a lot like those you would put in a pumpkin pie: cinnamon, ginger, nutmeg, cloves. I also added some molasses to give it a warm, slightly spicy taste. In terms of sugar, I opted for more brown sugar than granulated sugar because that, too, adds to the depth of flavor.
Chill, Chill, Chill
Remember that you are going to need to set aside some time to make these. Once you bring your dough together, wrap everything in some plastic wrap. Put the dough in the fridge for about 2 hours. If you leave it longer that’s fine, but you will probably have to let it sit out for a bit. It gets hard to roll after too much fridge time.
Use Cookie Cutters or a Cookie Stamp
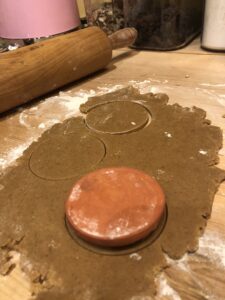
Once the chilling is done, roll that dough on a lightly floured surface to about ¼ inch. Now you are ready to cut out your shapes. If you are using the stamps, you can follow the directions on the package. I had to very lightly brush mine with oil since they are terracotta. I think I will probably try silicone stamps in the future because those may be easier. Once my dough was stamped, I used a round cookie cutter around the design. Place the shapes on a baking sheet lined with a silicone mat. The first time I did this, I went straight to the baking. They turned out OK in terms of shape. The best way to preserve the shape is to take the stamped dough on the trays into the freezer for about ten minutes.
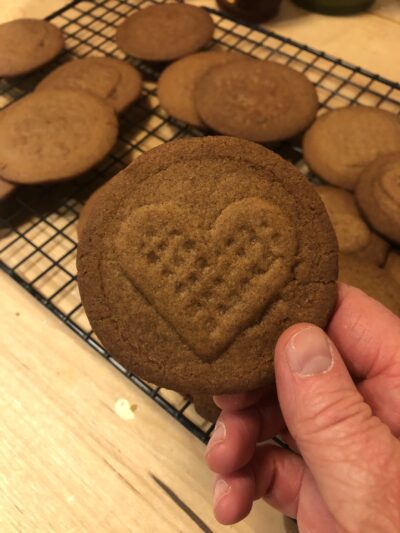
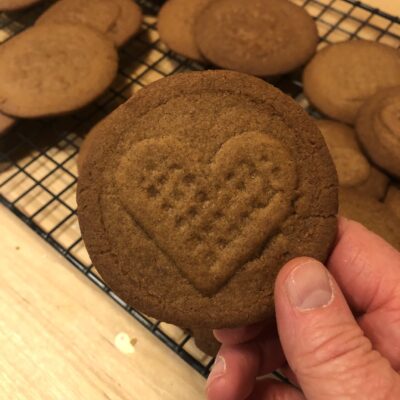
Tea Party Time with Stamped Spice Cookies
After baking for about 11 minutes, the cookies were lightly browned. Let them cool on the trays for about five minutes, then transfer them to wire racks. The result is a pretty, crispy, spicy cookie perfect for a 19th century style tea party straight out of one of my favorite books.
Stamped Spice Cookies
Ingredients
- 1/2 cup butter softened
- 3/4 cup packed brown sugar
- 1/2 cup granulated sugar
- 1 large egg room temp
- 1 tsp vanilla
- 2 tsp cinnamon
- 1 tsp ginger
- 1/4 tsp nutmeg
- 1/4 tsp ground cloves
- 2 tbsp molasses
- 2 cups flour
- 1/2 tsp baking soda
Instructions
- In a large mixing bowl, whisk together the flour and baking soda. Set aside.
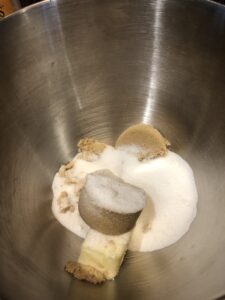
- Add the butter and sugars to the bowl of a mixer.
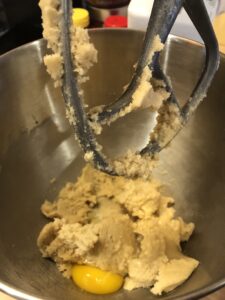
- Beat the butter and sugars together until fluffy, 2-3 minutes. Be sure to scrape down the sides of the bowl.
- Add the egg and beat until combined.
- Add the vanilla and beat until combined.
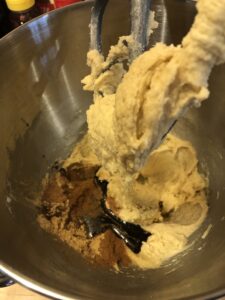
- Add the cinnamon, ginger, nutmeg, cloves, and molasses and mix until combined. Make sure to scrap down the sides of the bowl.
- Add the try ingredients to the bowl with the dough and beat until combined.
- Shape the dough into a disk and wrap it in plastic wrap. I used non-stick aluminum foil because I ran out of plastic wrap. Duh.
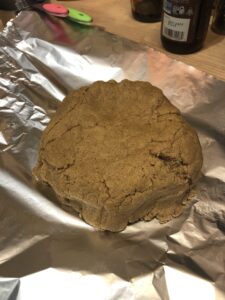
- Chill the dough for at least two hours. If you chill it longer, you will need to let it sit out a bit before rolling.
- When the dough is chilled, preheat the oven to 350 degrees.
- Line two baking trays with parchment paper or silicone mats.
- Lightly flour the surface of your workspace.
- Roll out the dough to about 1/4 inch.
- If you are using cookie cutters, you can cut them now. If you are using stamps, take a look at the manufacturer's directions. My stamps are terracotta and I was told to brush them lightly with vegetable oil.
- There are a few ways of using cookies stamps. In the way I chose, I used a round cutter to make a circle. After that, I firmly pressed the stamp into the circle of dough.
- Place your cookies on the prepared baking trays.

- Pop the trays and dough into the freezer for about 10 minutes. This will keep the design sharp instead of having it melt out into a blob in the oven.
- When the cookies are chilled, bake for about 11 minutes until golden. I generally bake the cookies for five minutes on one rack and then switch the pans for the remaining time. It helps the cookies bake more evenly.